Live Classrooms
Run a real-time video class right inside a lesson. Your camera and your students’ join a shared room, rendered beside a collaborative Board — so you can teach, talk, and work together live.
Live Classrooms are available on instances deployed with the video add-on (the kuploy “LearnHouse + Live Classrooms” stack). If a lesson has no Go live button, your instance doesn’t have it enabled — ask your administrator.
What you’ll see in the room
When you click Go live you land in the room on your own — a single video tile with your camera. That’s expected: a room fills up as the other people who open the same lesson join you. So the first time, it can look like “is that all there is?” — it isn’t; you’re just the only one there yet.
What shows up depends on how you opened the room:
- Video only — just the video grid. This is what you get when no Board is saved on the lesson (or you pick Video only).
- Video beside a Board — Go live opens the Board saved on the lesson next to the video; use the ▾ beside Go live to pick or change it. See Attach a Board below.
- Audio-only — join with your camera off. It’s the same room; video just stays disabled (handy for low bandwidth or a quick voice check).
Inside the room you can drag the divider to resize, switch Video / Split / Board views, pop the video out into a floating tile (or Picture-in-Picture), and Copy link to invite others.
So if you went live and saw only your own camera with no Board, nothing is broken — you were alone in a video-only room. Save a Board on the lesson (the ▾ beside Go live) and invite students, and the room fills out into the side-by-side teaching space below.
Start a live class
- Open a lesson (the lesson/Preview view, not the course editor’s
…menu — that only has Rename/Unpublish/Delete). - In the lesson’s action row — bottom-right, next to Mark as complete — click 🎥 Go live.
- Allow camera and microphone when your browser asks.
- You join the room as yourself. Share the lesson link and your students join the same room — see How students join.
The Go live button is the only place to start a live class — there’s no separate “live” tab or dashboard widget. The lesson is the entry point; the button opens the room with whatever Board is saved on the lesson, and the ▾ beside it lets you pick or change that Board (see Attach a Board).
Audio-only: join with your camera off — it’s the same room, video just stays disabled.
Build your first live lesson — a walk-through
A complete run from an empty dashboard to a live class with a slide on screen and a Board beside the video. In LearnHouse a “lesson” is an Activity inside a course chapter. This takes about five minutes.
Uploading images? Artifact uploads (the course thumbnail, images in the editor, videos) need object storage configured on your instance. If an upload silently fails, that’s almost always the cause — see Uploading artifacts and ask your administrator.
Create the course
From the dashboard, go to Courses → Create course. Add a Course Thumbnail (any landscape image, ~16:9) so the card looks finished, then copy these in.
Name:
Intro to Live TeachingDescription:
A short, hands-on live session to get comfortable teaching on camera with a shared Board.Add a chapter
Open the course and click New Chapter — chapters group your lessons; a live class lives in one of them. The description is required, so paste both:
Name:
Session 1Description:
Get set up and comfortable on camera before we teach live — one short warm-up session.Add the lesson (activity)
Inside the chapter, click Add Activity → New activity and pick the page (editor) type — the page editor is where you write the lesson and drop in the artifacts your class sees beside the video. The lesson description is required too, so fill in both:
Name:
Welcome & warm-upDescription:
A 10-minute warm-up: check your audio and video, meet on the Board, and run your first short live session.Add content and a slide
In the editor, add a heading and a short intro paragraph, then use the image button in the toolbar to upload a slide (drag a PNG/JPG in, or pick a file). A simple title slide works well as your shared focal point.
💡 No slide handy? Download this sample slide and upload it.
Ready-to-run lesson body — paste this into the editor and swap in your topic:
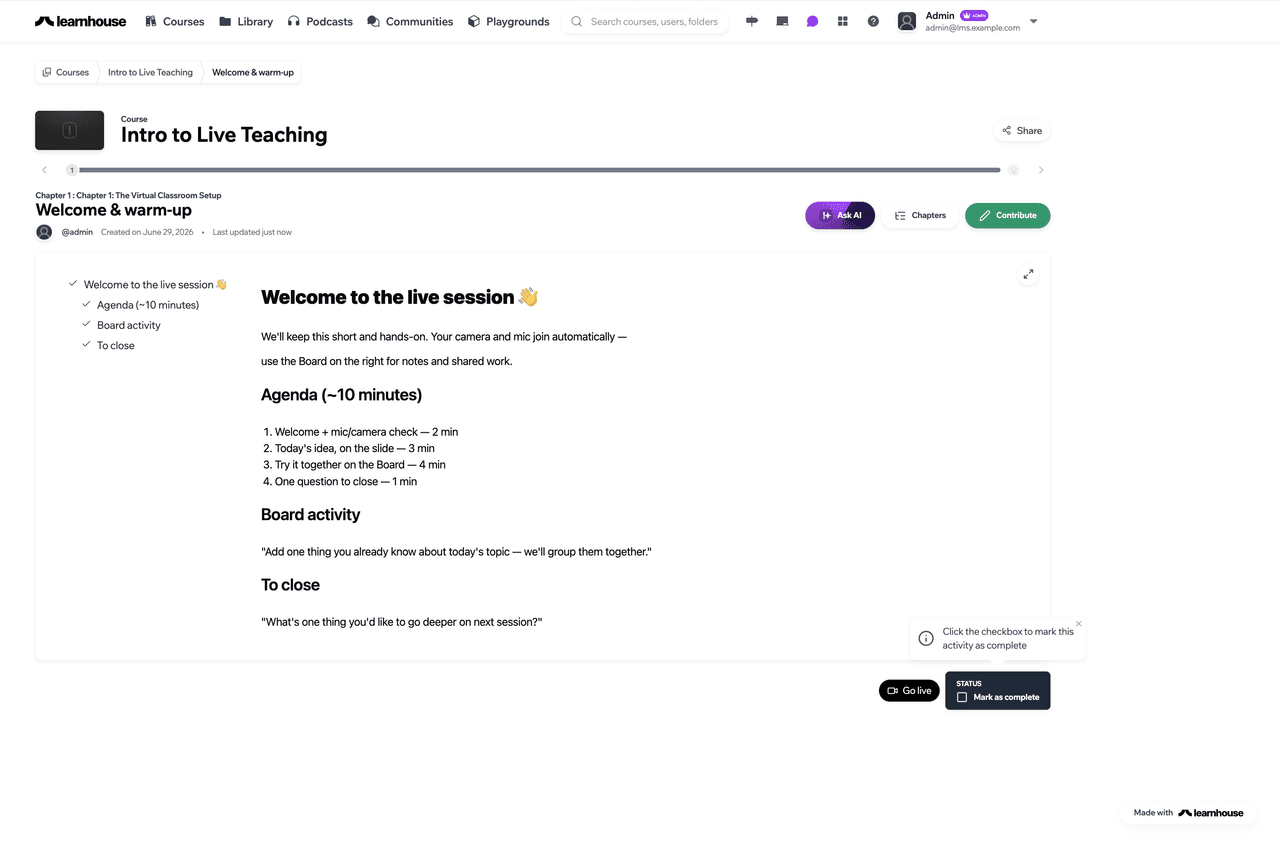
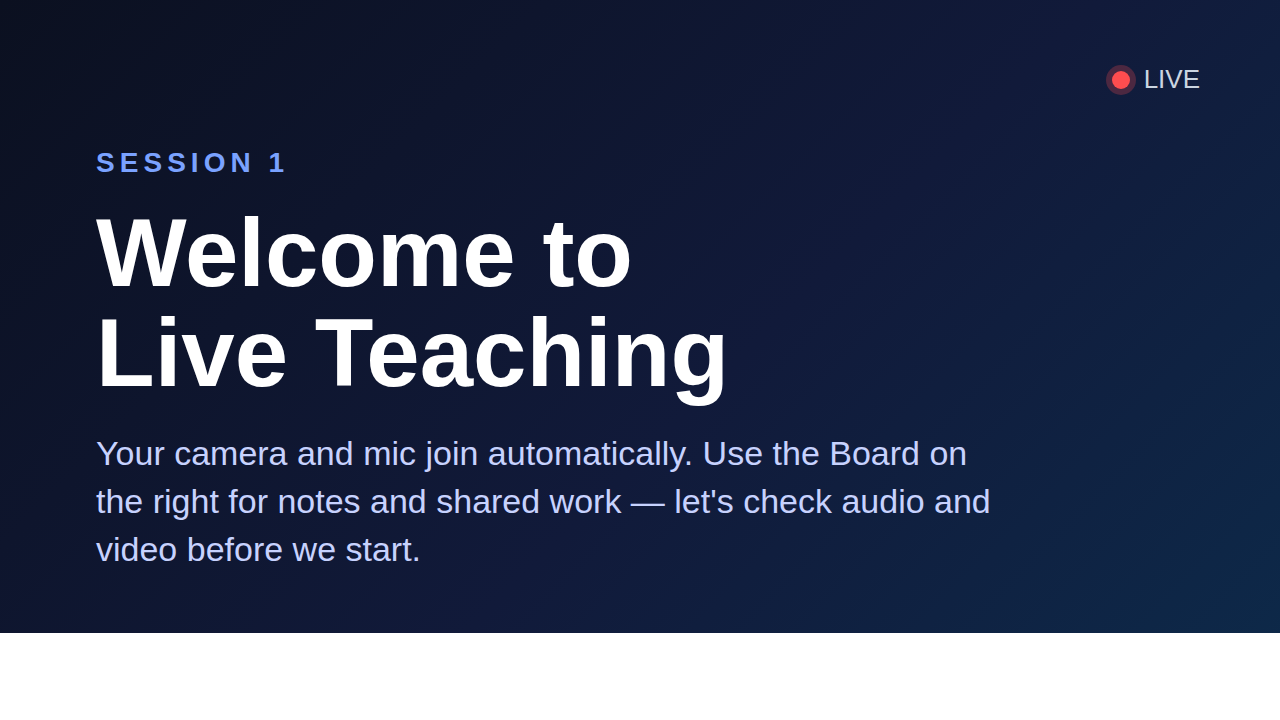
Welcome to the live session 👋

We'll keep this short and hands-on. Your camera and mic join automatically —
use the Board on the right for notes and shared work.

Agenda (~10 minutes)
1. Welcome + mic/camera check — 2 min
2. Today's idea, on the slide — 3 min
3. Try it together on the Board — 4 min
4. One question to close — 1 min

Board activity
"Add one thing you already know about today's topic — we'll group them together."

To close
"What's one thing you'd like to go deeper on next session?"
Publish the lesson
Click Publish. (The Go live button is available to you as the teacher whether or not the lesson is published — but students need it published to see the lesson.)
Attach a Board (video beside shared work)
This is what turns a plain video call into a teaching space: a shared Board rendered beside the video grid.
- Create the Board and add your content following Boards → Create a board and add content — in short: Dashboard → Boards → New board, then open the canvas and drop in notes, drawings, cards, or embeds.
- Back on the lesson, click the ▾ beside 🎥 Go live and pick your Board (the menu lists Video only plus every Board in your organization). It’s remembered on the lesson — from now on Go live opens the room with that Board for you and your students, no link to share. To change or remove it later, pick another Board (or Video only) from the same menu.
Need a one-off link instead? The room URL carries the Board as a query param —
…/course/<courseId>/live?activity=<activityId>&board=<id>. Grab it with the
Copy link button inside the room, or build it by hand (append &board=<id>,
where <id> is the trailing segment of the Board URL …/board/<id>, no
board_ prefix). Choosing Video only opens a video-only room.
Go live
Open the lesson and click 🎥 Go live — it opens with the Board you saved (use the ▾ to switch). Allow camera + microphone and you’re in. Inside, drag the divider to resize, switch Video / Split / Board views, pop the video out into a floating tile or Picture-in-Picture, and Copy link to invite others. You’ll be alone until students join.
How students join
A student joins the same room, keyed to the same lesson — there’s nothing extra to install:
- The student opens the published lesson (from the course, or a link you send them).
- They click 🎥 Go live in the action row. If you saved a Board on the lesson, they land in it automatically — the same Board as everyone else. They must be logged in — live classrooms put everyone in the room as themselves, so an anonymous visitor is sent to the login page first.
- They allow camera and microphone, and their tile appears in your grid.
Because the Board is saved on the lesson, the whole class lands on the same room and the same Board with a single click — no special link to share. (You still can if you want: the in-room Copy link button copies the exact URL.)
Uploading artifacts
You can attach a few kinds of artifact to a lesson:
- Course thumbnail — the card image, set when you create/edit the course.
- Images in the editor — slides, diagrams, screenshots, via the editor’s image button. These render in the lesson beside the live video.
- Video activities — upload a recorded video as its own activity type.
Uploads go to your instance’s configured storage. If an upload fails or the image doesn’t appear, object storage isn’t set up — the administrator needs to point the instance at an S3/MinIO bucket (or enable filesystem storage with a persistent volume). It is not a problem with your file.
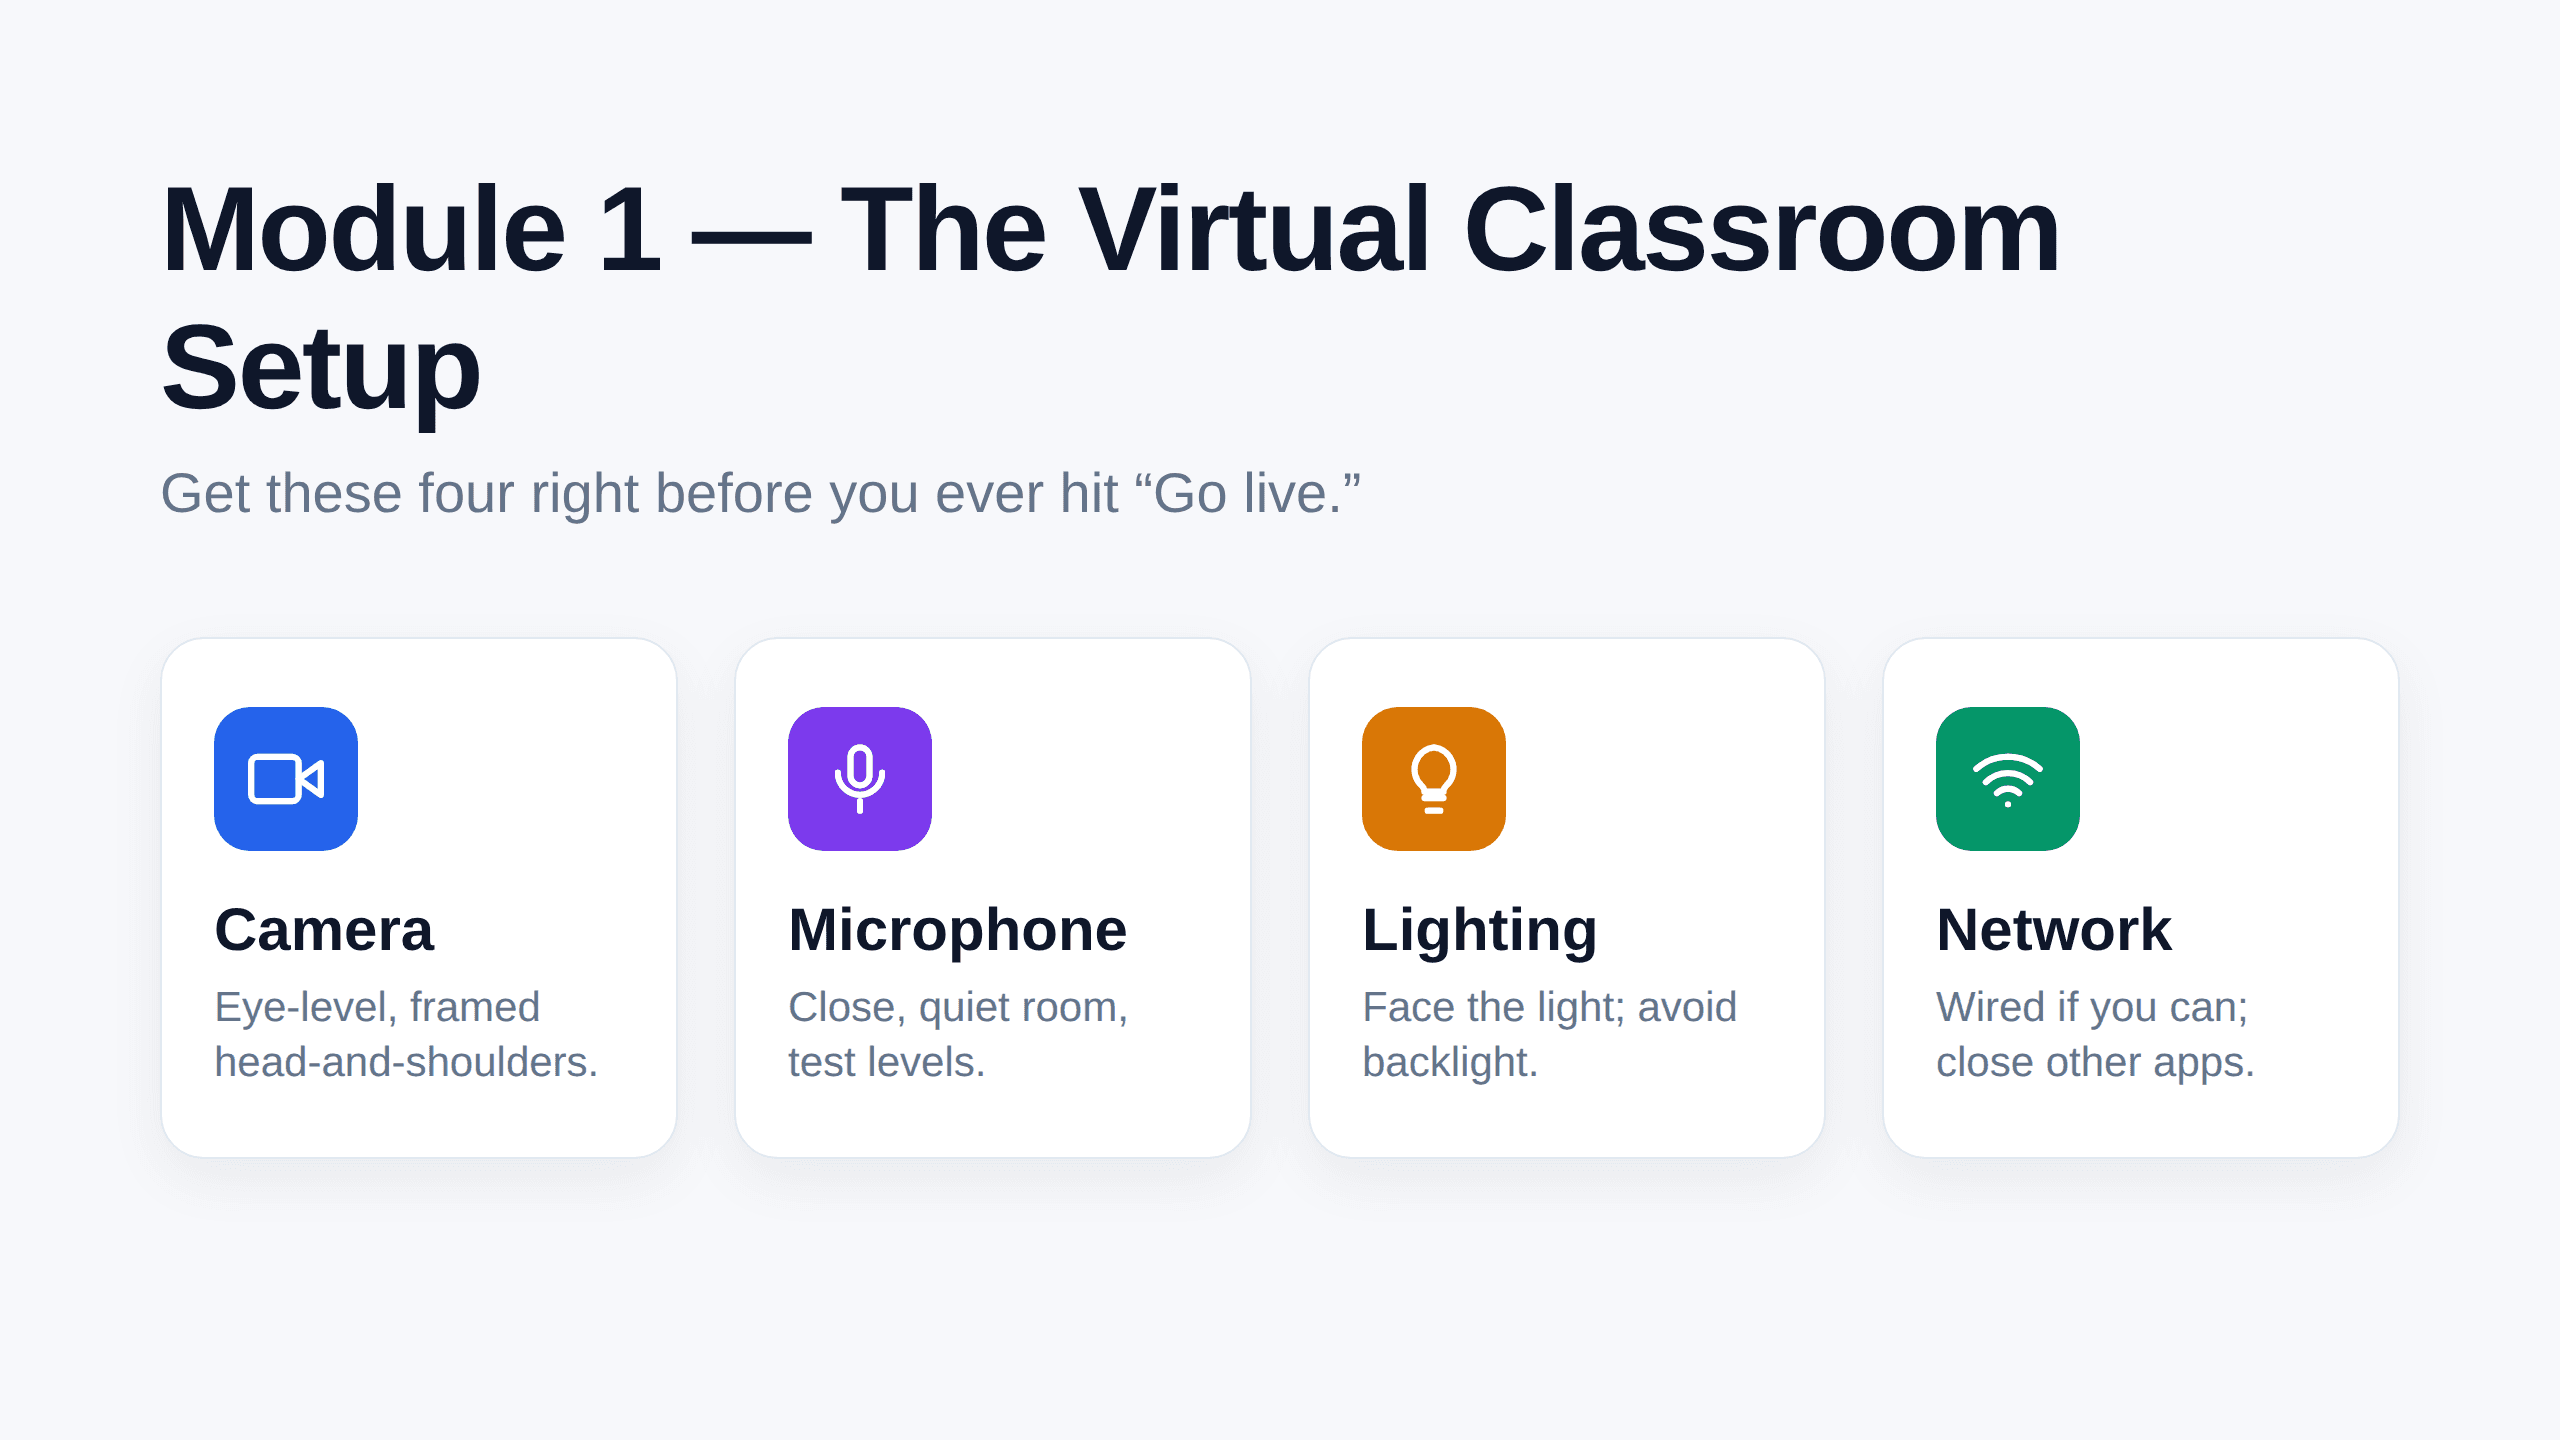
A 60-second pre-flight checklist
- Camera — eye level, head-and-shoulders framing
- Microphone — close, in a quiet room; test your levels
- Lighting — face the light source, avoid backlight
- Network — wired if possible; close bandwidth-heavy apps
Tips
- Join a few minutes early and confirm you can see and hear yourself.
- Use the Board beside the video for notes, diagrams, and shared work.
- Recording, in-class polls, and live captions are on the roadmap.
Troubleshooting
Can’t connect? Some restrictive networks block the ports live video needs. Try a different network (for example, a phone hotspot). If it keeps failing, your instance administrator can check the live-video configuration.
